Decorated milk cans are vintage items repurposed as home decor, often personalized with painting, stenciling, or other creative methods. They add rustic charm and a unique touch to indoor or outdoor spaces.
Milk cans, once used for transporting dairy, have now become popular items for home decor. Decorating a milk can is a great way to add a touch of vintage charm to any space. Whether it’s an antique metal can or a modern one, there are countless ways to personalize it.
This guide will show you creative ways to decorate a milk can, and where it can fit into your home decor.
What is a Decorated Milk Can?

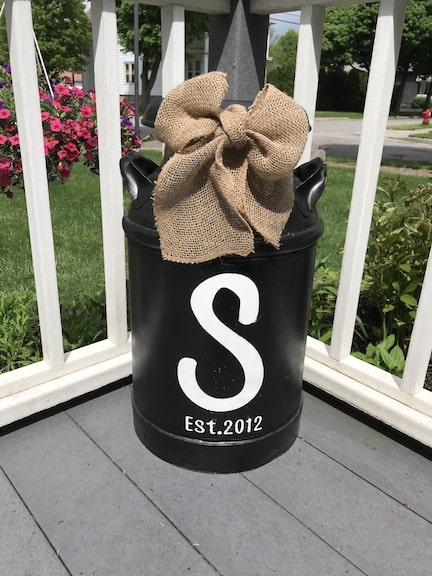
A decorated milk can refers to an ordinary milk can that has been designed with artistic elements to serve as home decor. These cans are often personalized using painting, stenciling, or other crafting methods. They can become a centerpiece in your living room, a charming addition to your garden, or an eye-catching accent in your entryway.
Historical Background of Milk Cans:
Milk cans date back to the 19th and early 20th centuries when farmers used them to
store and transport milk to dairy processing centers. These cans were usually made of metal—typically tin or aluminum—and had lids to prevent spills. Nowadays, they are prized as vintage items that bring a touch of history to modern decor.
Why Decorate a Milk Can?
There are numerous reasons why decorated milk cans have become popular in home decor:
- Vintage charm: Milk cans represent a bygone era, and decorating them enhances their nostalgic appeal.
- Rustic beauty: They naturally complement farmhouse, country, and shabby chic decor styles.
- Personal touch: Decorating a milk can allows you to express your personality and create something unique for your home.
- Eco-friendly reuse: Repurposing old milk cans reduces waste and gives them a second life as beautiful decor pieces.
Also Read: How To Decorate Pavilion And Picnic Table – Easy Decorating Ideas!
Versatility in Decorating:
Milk cans are versatile items that can be used in various ways after decoration. Whether indoors or outdoors, they bring a rustic elegance to your space. Decorating them is also an enjoyable DIY project that lets you experiment with different styles and designs.
How to Decorate a Milk Can: Step-by-Step Guide?

Now that you understand the appeal of decorated milk cans, let’s dive into how you can transform one into a beautiful decorative piece. Below are some popular and creative techniques you can try.
Painting the Milk Can: Choose the Right Technique:
Painting a milk can is one of the easiest and most effective ways to give it a fresh, updated look. Here are three popular painting techniques:
Chalk Paint:
Chalk paint is a favorite for those looking to create a rustic or vintage finish. Its matte texture and easy-to-use formula make it ideal for creating a distressed look.
- Steps:
- Clean the milk can thoroughly to remove any dirt, dust, or rust.
- Apply a primer to ensure the chalk paint adheres well.
- Apply the first coat of chalk paint using a brush or sponge.
- Once dry, lightly sand the edges for a distressed effect.
- Seal the paint with a clear wax or matte sealer.
Acrylic Paint:
Acrylic paint works best if you’re going for a bold, colorful design. It adheres well to metal and is available in a wide range of vibrant colors.
- Steps:
- After cleaning and priming the milk can, apply acrylic paint using a brush.
- Create designs like flowers, patterns, or scenic views.
- Use multiple layers of paint for a rich, bright look.
- Seal with a water-resistant varnish to protect the colors.
Spray Paint:
Spray paint offers a quick and smooth way to cover large areas of your milk can. It’s perfect if you’re aiming for a minimalist or monochromatic design.
- Steps:
- Make sure the milk can is clean and dry.
- Choose a well-ventilated area to spray paint.
- Apply the paint in light, even layers to avoid drips.
- After the paint dries, apply a clear topcoat for durability.
Stenciling Designs: Precision and Creativity:
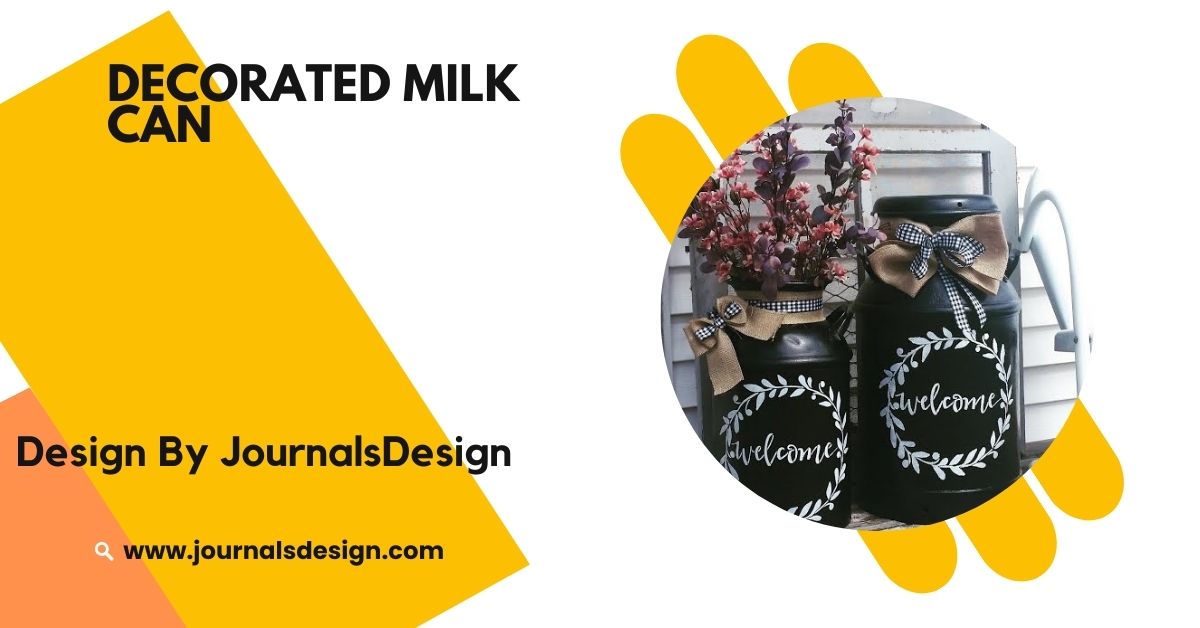
Stenciling is a great way to add intricate designs to your milk can. You can buy pre-made stencils or create your own for a custom look. Common stenciled designs include floral patterns, farm animals, or inspirational quotes.
- Steps:
- Secure the stencil to the milk can using painter’s tape.
- Use a sponge or stipple brush to apply paint within the stencil.
- Carefully remove the stencil to reveal the design.
- For a layered effect, use multiple stencils with different colors.
Also Read: How To Decorate Top Of Kitchen Cabinets – Stylish Decoration Ideas!
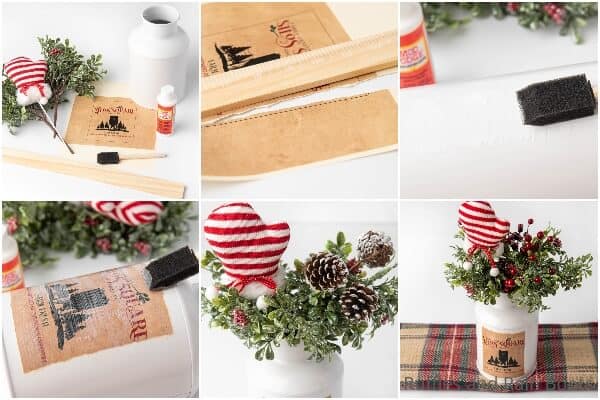
3. Adding Decals and Stickers: Quick and Easy:
If you’re short on time but still want to decorate your milk can, using decals or stickers is a great option. These can be easily applied to the surface of the milk can and come in various styles, such as floral, farmhouse, or seasonal themes.
- Steps:
- Choose decals or stickers that match your decor style.
- Clean and dry the surface of the milk can.
- Apply the decal, smoothing out any air bubbles.
- Seal the stickers with a clear spray to prevent peeling.
4. Twine, Burlap, and Fabric Additions: Rustic and Cozy:
Wrapping twine, burlap, or fabric around the neck or body of the milk can can enhance its rustic look. This method works well for farmhouse or country-themed decor.
- Steps:
- Secure the twine or fabric around the top or middle of the can.
- Use hot glue to keep the material in place.
- Add extra decorations like bows, metal charms, or small flowers for added texture.
Engraving and Etching for a Unique Look:
If you want to add a more personal touch, consider engraving or etching your milk can. You can etch names, dates, or intricate patterns onto the metal surface.
- Steps:
- Sketch the design onto the milk can using a pencil or marker.
- Use an engraving tool or etching cream to trace the design onto the surface.
- Once complete, polish the area to highlight the etched details.
Creative Display Ideas for Your Decorated Milk Can:

Decorated milk cans can enhance various areas of your home, whether indoors or outdoors. Below are some creative ways to display your decorated milk can.
Front Porch Statement Piece:
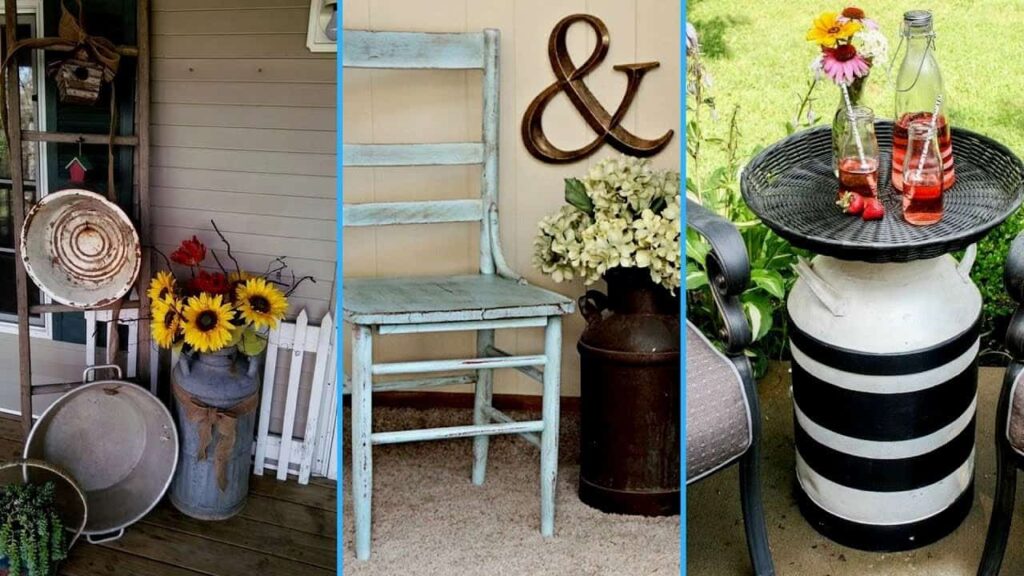
Your decorated milk can can make a welcoming statement on your front porch. You can fill it with seasonal decorations or greenery depending on the time of year:
- Autumn: Fill the can with pumpkins, hay, and fall foliage.
- Winter: Use pinecones, evergreens, and fairy lights for a festive look.
- Spring: Fresh flowers or blooming branches can brighten your porch.
Living Room Accent:
In the living room, a decorated milk can can serve as a unique accent piece:
- As a plant holder: Place a potted plant or tall grasses inside the can.
- Corner filler: Use it to fill an empty corner in the room, paired with other rustic items.
- Side table: Place a wooden or glass top on the milk can to transform it into a functional side table.
Also Read: How To Clean Decorative Pillows – A Quick And Easy Guide!
Dining Room or Kitchen Decor:
Add farmhouse charm to your dining room or kitchen by displaying the milk can as:
- Centerpiece: Place it on a dining table filled with seasonal flowers or faux greenery.
- Pantry storage: Use it as unique storage for kitchen utensils or dry goods.
Outdoor Garden Display:

A milk can decorated with weather-resistant materials can serve as a beautiful outdoor feature in your garden or patio:
- Flower pot: Fill it with soil and colorful flowers for a rustic planter.
- Garden marker: Paint the names of your plants on the can and use it as a garden marker.
- Patio accent: Use it as a decorative piece on your patio or outdoor seating area.
Holiday and Seasonal Decor:
You can update your milk can decor for different holidays and seasons:
- Halloween: Paint the can in Halloween colors and fill it with spooky decorations like faux cobwebs or pumpkins.
- Christmas: Add a holiday stencil, ribbons, and fill it with evergreen branches and twinkling lights.
- Summer: Use bright paint and tropical flowers to give your milk can a summer makeover.
Maintaining Your Decorated Milk Can:
To ensure your decorated milk can looks great year after year, proper maintenance is essential. Follow these tips:
- Apply a protective sealer: After painting or adding decorations, seal the milk can with a clear protective coat, especially if it will be placed outdoors.
- Keep it clean: Wipe the milk can regularly with a soft cloth to remove dust or dirt.
- Store indoors during extreme weather: If your milk can is displayed outdoors, bring it inside during harsh weather conditions like heavy rain, snow, or high humidity to prevent rust or damage.
Also Read: How To Decorate A Bookcase – Tips For A Functional And Stylish Look!
FAQs
1. What makes a decorated milk can special?
A decorated milk can is a classic dairy can, redesigned with personal touches such as paint, decals, or fabric, making it a unique decor piece.
2. How can decorated milk cans fit into modern home decor?
They add a blend of vintage and rustic style, perfect for farmhouse, shabby chic, or eclectic home designs.
3. What are some creative ways to decorate a milk can?
You can paint it with chalk paint, add intricate stenciled designs, or wrap it with burlap and twine for a cozy, rustic look.
4. Can I use my decorated milk can year-round?
Yes! You can change the decorations seasonally, like filling it with pumpkins in the fall or greenery during the holidays.
5. How do I protect my decorated milk can from weather damage?
Apply a weather-resistant sealer and bring it indoors during extreme conditions to preserve its look and durability.
Conclusion
Decorated milk cans are a perfect blend of vintage charm and creative expression, making them versatile additions to any home decor. From painting to stenciling, there are endless ways to personalize and enhance their beauty. With proper care, these timeless pieces can be enjoyed both indoors and outdoors for years to come.


